Cart

How To Install Engineered Timber Flooring: A Step-By-Step Guide
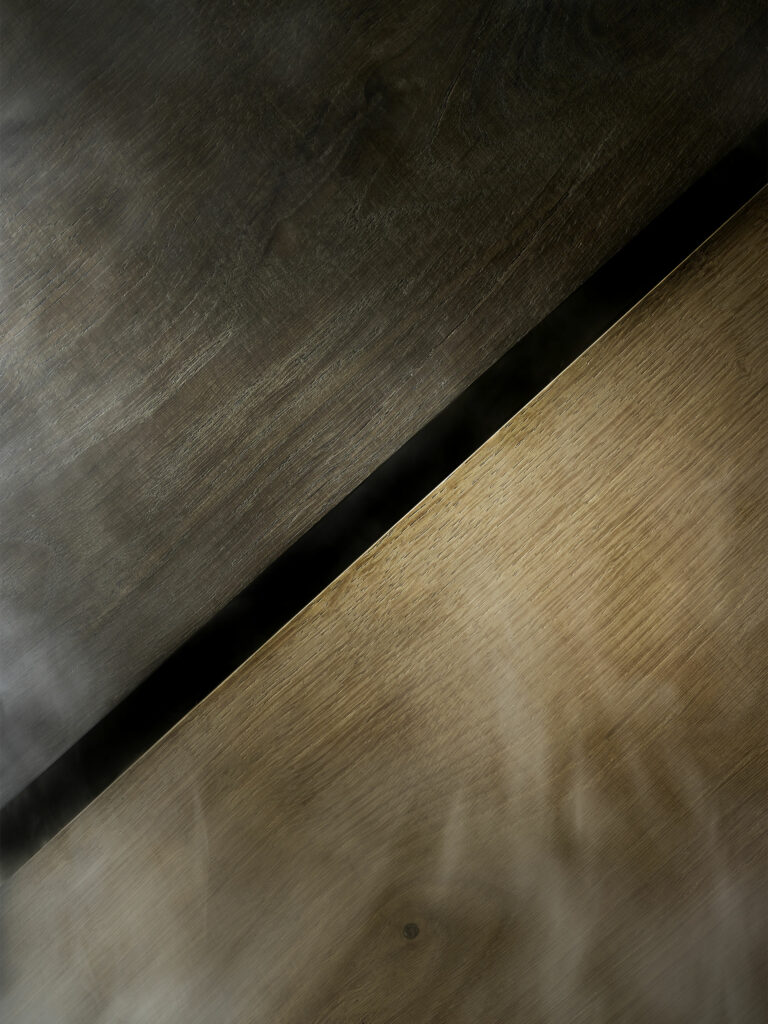
Engineered timber flooring combines the warmth and beauty of wood with the practicality and durability required for modern homes. Its layered construction, featuring a real wood veneer atop a stable core, makes it less prone to warping and expansion than solid wood.
Engineered timber flooring combines the warmth and beauty of wood with the practicality and durability required for modern homes. Its layered construction, featuring a real wood veneer atop a stable core, makes it less prone to warping and expansion than solid wood.
If you’re thinking of installing engineered timber flooring in your home or business, don’t worry. Engineered timber flooring installation is quite simple once you understand the process.
This engineered timber flooring installation guide will walk you through the process step-by-step.
How to install engineered timber flooring
Step 1: Preparation
Before diving into how to install engineered timber flooring, it’s essential to prepare the area. Clear the room of furniture and remove any existing flooring or carpeting. Ensure the subfloor is clean, dry and level. Any discrepancies in level should be corrected before installation to avoid possible issues with adhesion. Acclimatise your engineered timber planks to the room’s conditions by laying them flat in the room for at least 48 hours.
Step 2: Underlay installation
An underlay serves as a moisture barrier and provides sound insulation, enhancing the performance of your engineered flooring. Roll out the underlay perpendicular to the direction you plan to lay the flooring planks. Trim to fit and tape the seams together to prevent moisture from penetrating.
Step 3: First row
Start from the corner of the room, placing spacers between the wall and the first plank to allow for expansion. The tongue side of the plank should face the wall. If necessary, trim the first plank’s tongue to ensure a snug fit against the wall. This guide for installing engineered timber flooring emphasises careful alignment in this stage, setting the tone for the rest of the installation.
Step 4: Laying the planks
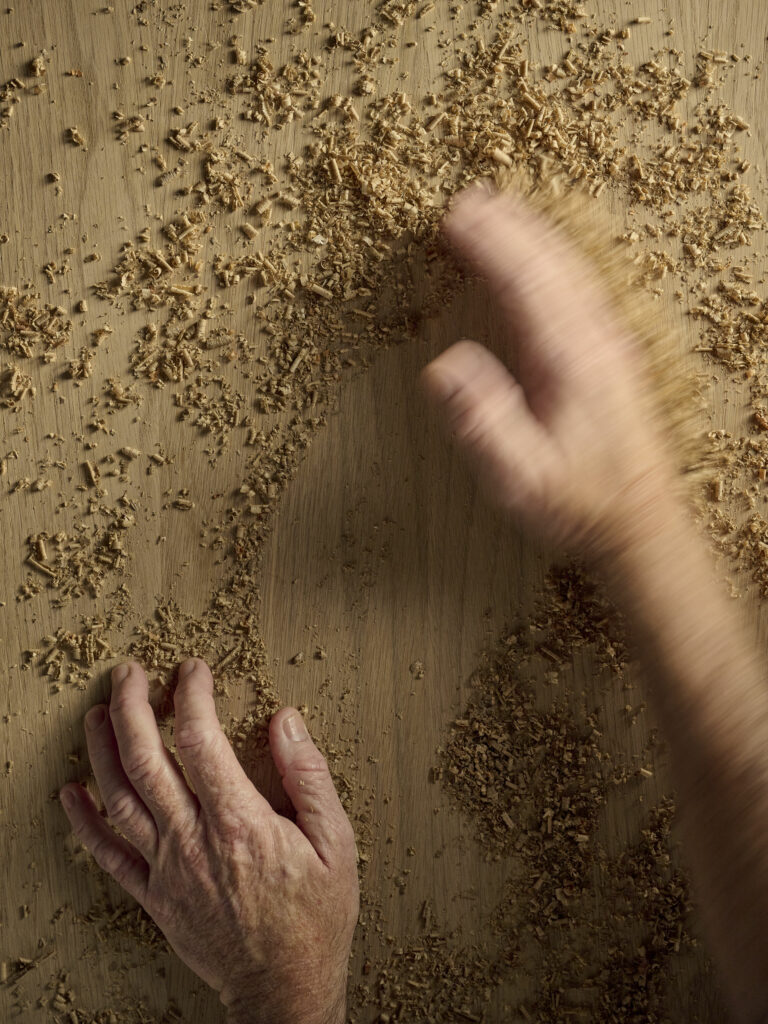
Fit the planks together by inserting the tongue into the groove at an angle and then flattening down. Use a tapping block and mallet to gently secure the planks together without damaging the edges. For the end of each row, you may need to measure and cut planks to fit. Always ensure to stagger the seams by at least 30 cm between adjacent rows for structural integrity and aesthetic appeal.
Step 5: Last row
The installation of the last row might require trimming the planks lengthwise. Remember to leave space for expansion and use a pull bar to fit these final pieces snugly against the previous row.
Step 6: Finishing touches
Remove spacers and install baseboards or skirting to cover the expansion gaps. Do not fix the baseboards to the flooring, as this will prevent it from expanding and contracting naturally.
Engineered timber flooring installation cost
The cost of engineered timber flooring installation can vary based on factors such as the complexity of the job, the quality of materials and labour costs if you opt for professional installation. Doing it yourself can save on labour costs, but ensure you have the right tools and follow the installation guide closely to avoid costly mistakes.
Ready to elevate the look of your home? Invest with the best — invest in Royal Oak Floors
Installing engineered timber flooring can enhance the aesthetics and value of your home. By following this detailed engineered timber flooring installation guide, you can achieve a seamless and durable floor that will last for years. Remember, preparation, precision and patience are key to a successful installation.
For those ready to transform their space with a fresh engineered timber flooring installation, visit Royal Oak Floors. You can see our full collection of floorboards and aftercare essentials either online or in our showrooms in Sydney and Melbourne.
If you want to learn more about engineered timber flooring installation, or if you need help finding the right flooring option for your home amongst our expansive selection, feel free to reach out — our team will be more than happy to help.